Hilo smart thermostat for electric radiant floor
Manage your indoor heating wherever you are and whenever you want
To reduce your energy consumption, smart thermostats are a great help. With the Hilo app, you can adjust the temperature no matter where you are. That means you’re only using the energy you need, and no more.
Only compatible with electric radiant floors with functioning loose cable or cabled mats and a line voltage wall thermostat.
Power: 3600W
Brand: Hilo
Model: EQ000040
Price is valid with an agreement and 1-year commitment to participate in Hilo challenges. Certain conditions apply, learn more here. Retail value of the thermostat is $209.99.
Add the number of thermostats you would like to your shopping cart during stage 3 of your order (“Add smart thermostats”).


Personalized comfort
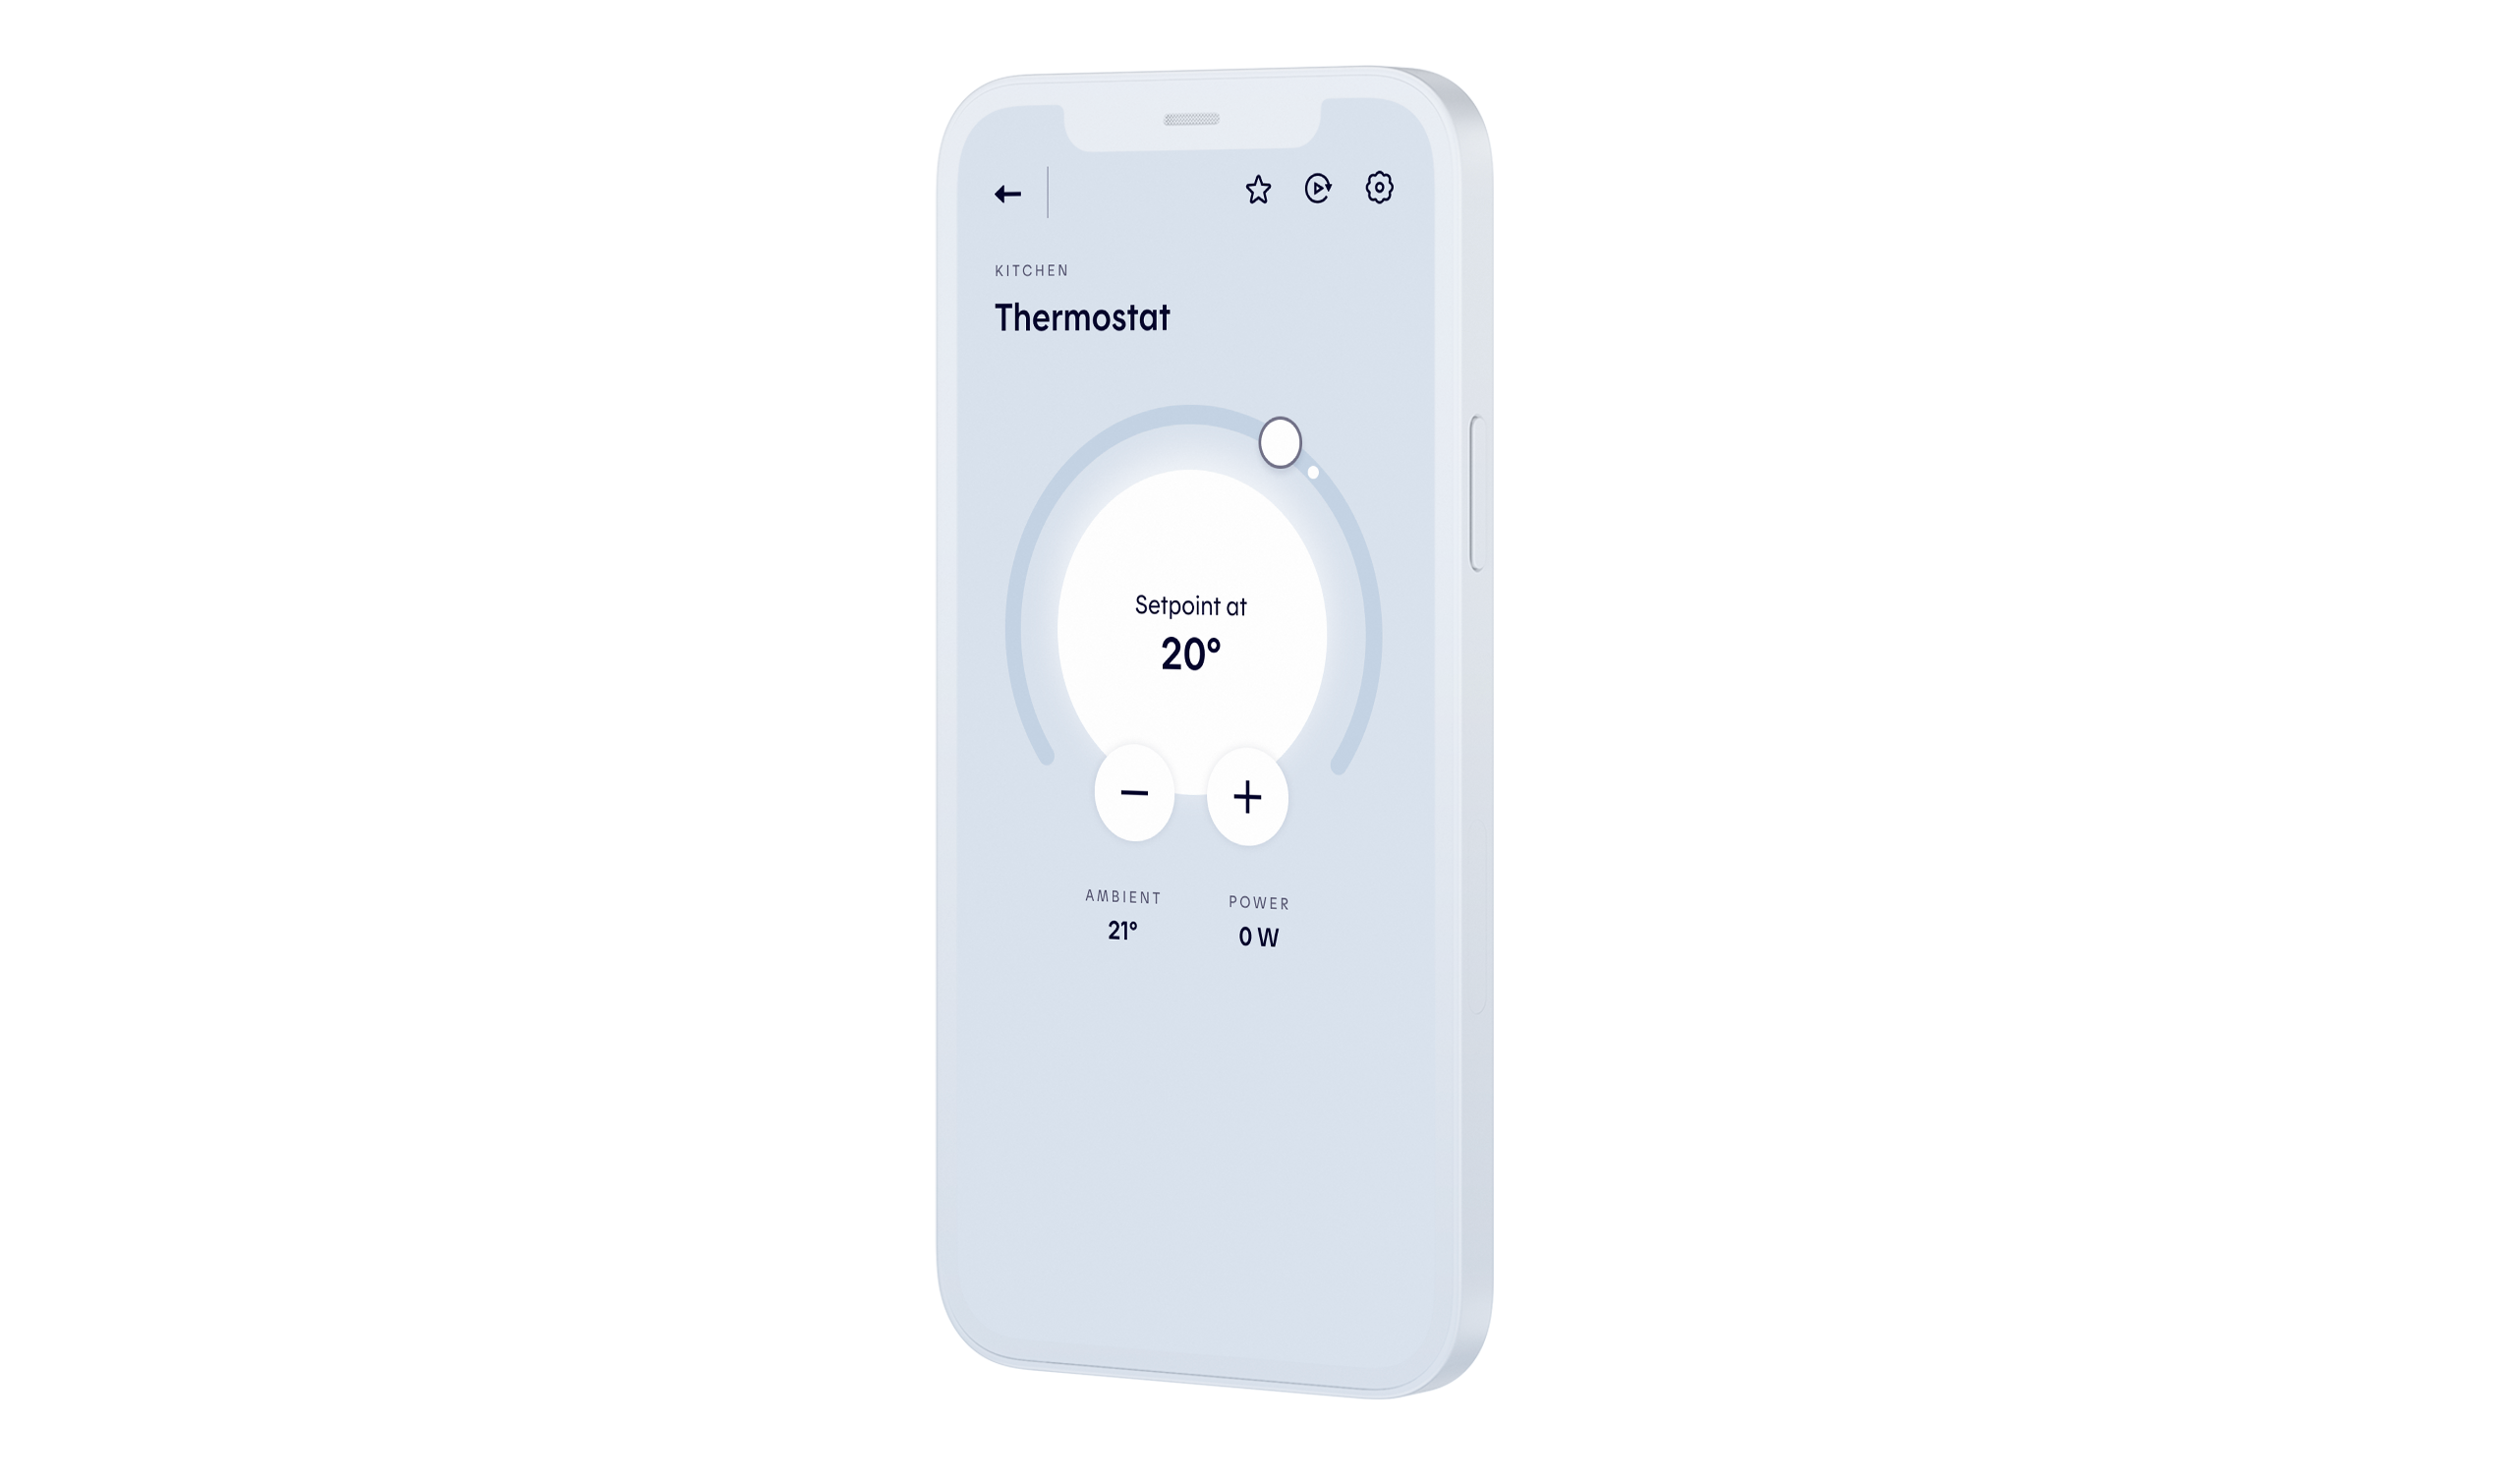
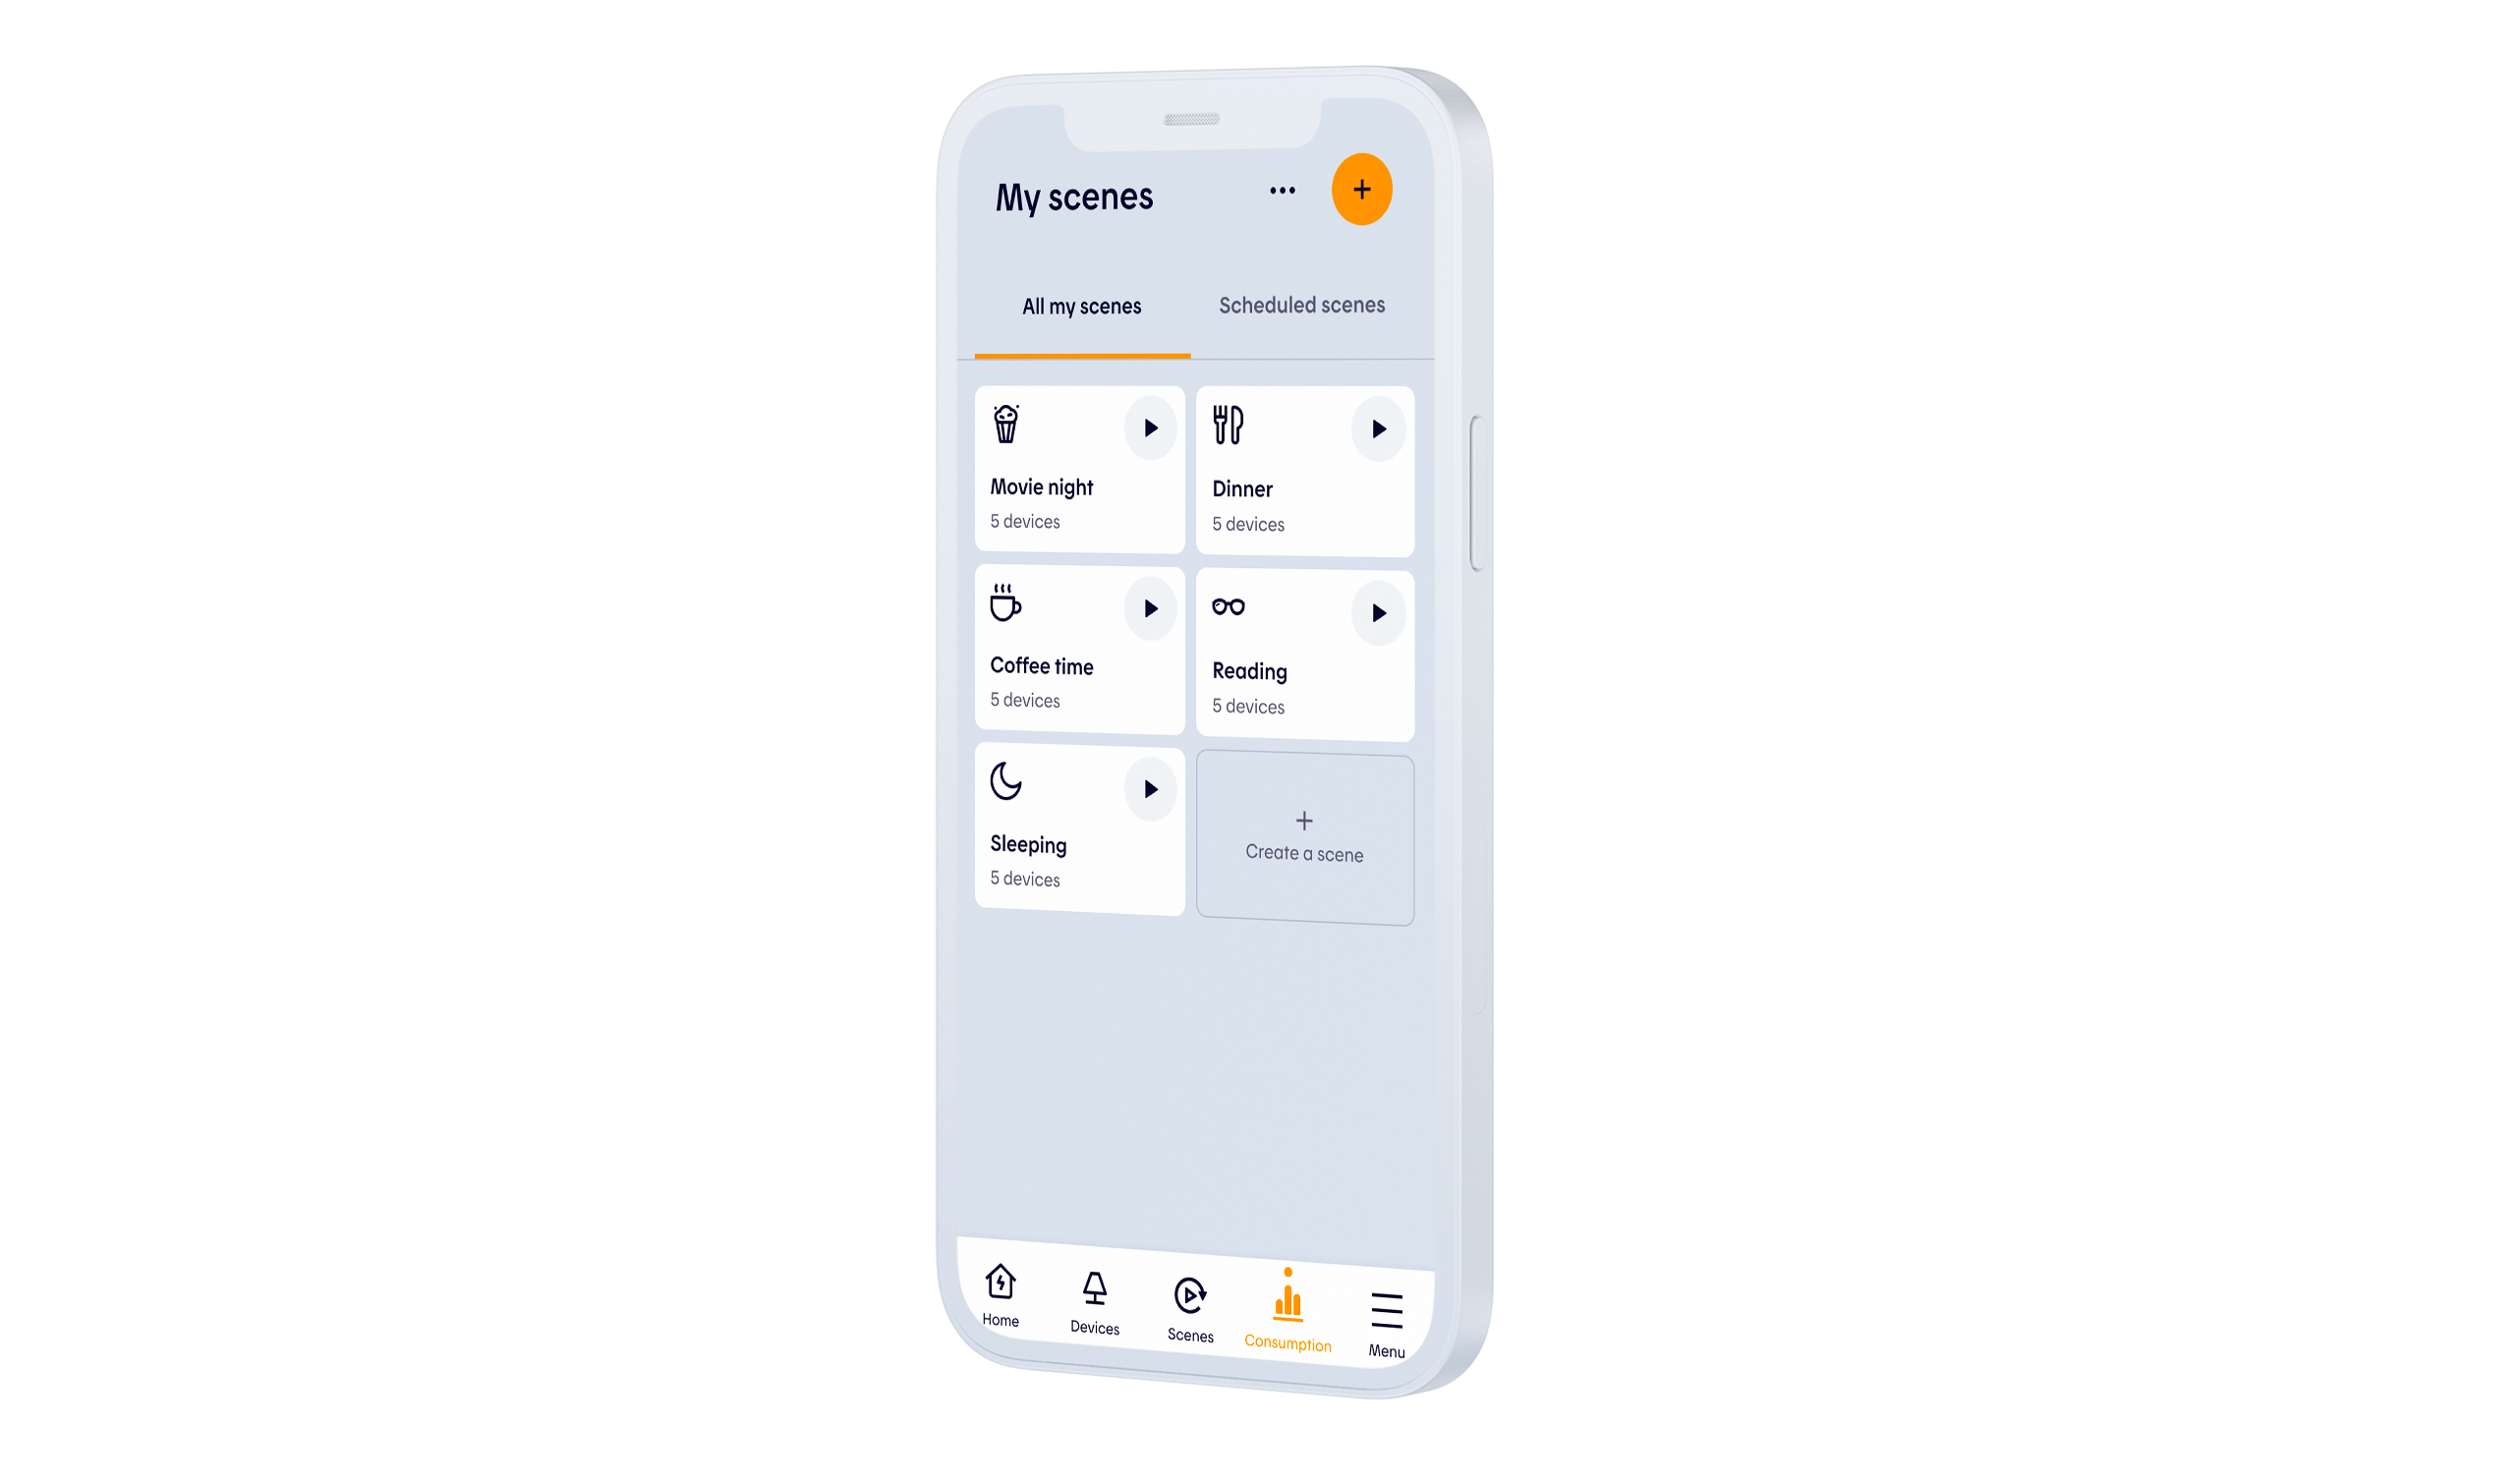
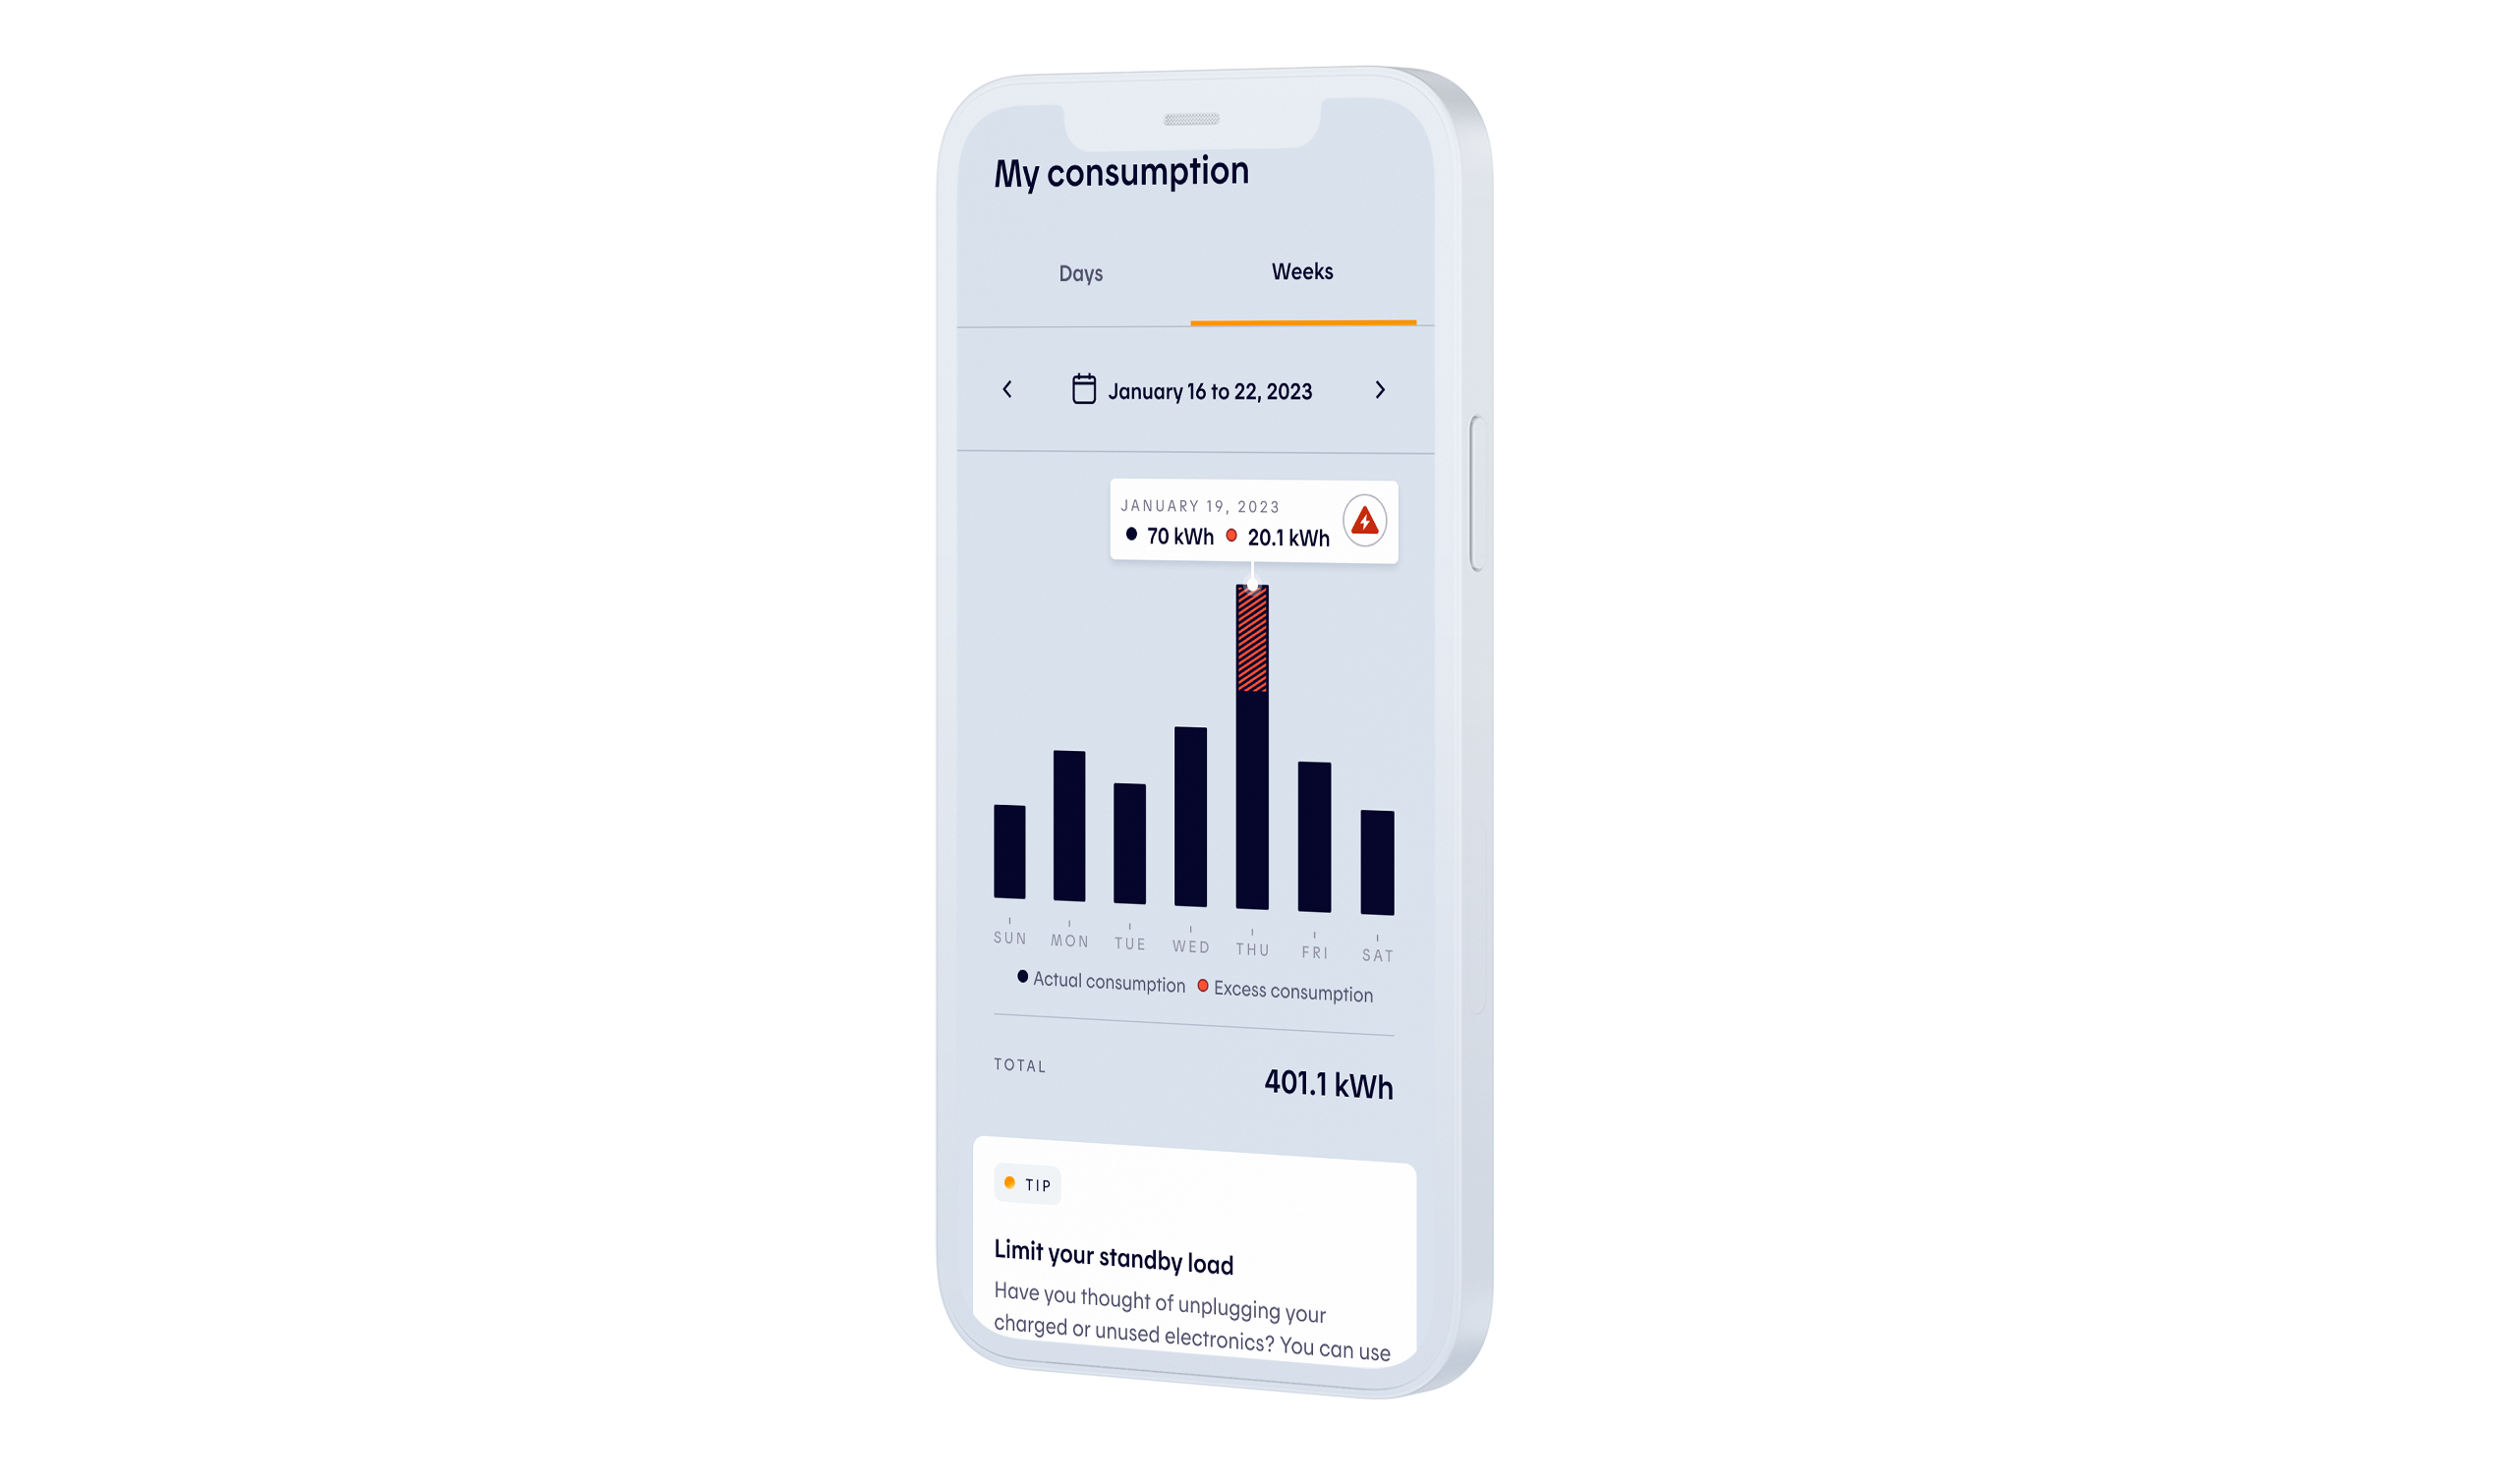
Easily manage your smart thermostats, create personalized scenes and track your energy consumption. All with one app!
-
You can manage your smart thermostats with the Hilo app, even remotely. Have a compatible voice assistant? Use it to adjust your thermostats.
-
Program your devices to turn off all the lights in your house at a specific time and automatically lower the temperature to 19°C in the bedrooms.
-
See your usage and compare it to previous consumption to optimize your energy use.
Personalized comfort
Easily manage your smart thermostats, create personalized scenes and track your energy consumption. All with one app!
Only for electric radiant floor systems with functioning loose cable or cabled mat and a line voltage wall thermostat
- Adjust the temperature, even remotely, by pairing the thermostat with the Hilo hub
- Incomparable precision for greater comfort with no temperature variation, irrespective of weather conditions
- Displays your home’s consumption by hour, day and week so you can easily manage and optimize your energy use
Colour
- White
Finish
- Moulded plastic
Power and voltage
- Supply voltage: 120/208/240 VCA, 50/60 Hz
- Charge type: resistive
- Maximum load:
- 1,800 W at 120 VAC , 60 Hz
- 3,120 W at 208 VAC, 60 Hz
- 3,600 W at 240 VAC, 60 Hz
- Auxiliary output: 24 VAC/VCC / 0.1 A
- Compatibility: sensors 10 kΩ and 12 kΩ at 25°C
Temperature range
- 5°C to 36°C
Precision
- Precisely controls set temperature within ± 0.5°C
Standards
- TB713-C Base: Conforms to ANSI/UL 943 standards; certified under CAN/CSA Std. C22.2 No. 144.1
Guarantee
- 3 years
Hilo smart thermostat
- 3,600 W
System
The smart thermostat for radiant floors lets you control electric radiant floor systems composed of:
- loose cable
- mats with prepositioned cable
Features
- Lets you control the ambient temperature and the temperature of the floor
- Equipped with outlet for floor sensor
- Equipped with a second outlet to facilitate control of an auxiliary heating system
- Equipped with current leakage protection — ground fault circuit interrupter (GFCI) Class A
- Equipped with protection for engineered wood flooring
- Displays temperature in Celsius or Fahrenheit
- Backlit screen
Dimensions
- Width: 72 mm (2.88 in.)
- Height: 122 mm (4.88 in.)
- Depth: 50 mm, as 26 mm + 24 mm (1.96 in., as 1.02 in. + 0.94 in.)
1. Package contents
- Hilo thermostat for radiant floors
3. Thermostat interface
- Set temperature control/Modification of selection in advanced menus
- Room temperature
- Heating power
- Advanced menus
- Zigbee connection
- Unused
- Thermostat taking Hilo challenge
- Time
- Unused
- Keyboard locked
- Indicates that the temperature displayed is the outdoor temperature
- Indicates that the temperature displayed is the set temperature
- Temperature (outdoors or setting)

4. Changing the settings
- Load menu: displays the load detected — 0 W to 3,600 W
- Display menu: display format for temperature — °C or °F (default is °C)
- Control menu: thermostat control mode — A (ambient) or F (floor) (default is F)
- Limit Floor Max menu: limits the temperature — 5°C to 36°C
- Auxiliary menu: setting of auxiliary outlet — OFF, EXP, 15 seconds or 15 minutes (default is OFF)
- Sensor menu: floor sensor — 10 kΩ or 12 kΩ (default is 10 kΩ)
5. Initial run
- Connect the thermostat. After it has performed a test sequence, the thermostat should display the temperature of the floor.
- Lower the setting to the minimum and hold the ↓ button down for 10 seconds to access the menu.
- Press the ↑ or ↓ button to change the setting.
- Press the ↑ and ↓ buttons simultaneously to choose the next setting.
- Continue pressing until you reach the end of the list to exit the menu.
Note: The Load menu displays the detected load.
- In the Display menu, choose the desired temperature scale.
- In the Control menu, choose whether the temperature to be controlled is that of the floor or the ambient temperature of the room.
- In the Limit Floor Max menu, choose the temperature limits. NOTE: Never set a temperature limit greater than 27°C for engineered wood flooring.
- In the Auxiliary menu, choose EXP if an expansion module is connected; otherwise, choose OFF.
- In the Sensor menu, indicate whether you have a 10 kΩ or 12 kΩ probe.
6. Pairing the thermostat
In the Hilo mobile application, please perform the following steps:
- Go to the Device page in the app by selecting the lamp icon at the bottom of the screen.
- Select the + in the upper-right-hand corner of the screen.
- Select Add a Device.
- Select Thermostat, Switch, etc.
- Select “I don’t have a data matrix code.”
- Select Continue; this will put the hub into pairing mode and the indicator will flash blue.
- Briefly press the two buttons on the thermostat simultaneously (around 1-2 seconds). The network icon will be displayed and will flash in the upper-left-hand corner of the screen.
- Wait for it to stop flashing; the thermostat is now paired with the hub.
- In the application, select Close when the screen displays “The devices have been added!” The Device page will reappear.
- Wait approximately 60 seconds until the thermostat tile appears in the application.
- Test the thermostat, rename it and pair it with the correct room.
- Pairing is complete. If you don’t have any other devices to be paired, press the button on the Hub to quit pairing mode.
7. Technical specifications
Electrical properties
- Supply voltage: 120/208/240 VCA, 50/60 Hz
- Charge type: resistive
- Maximum load:
- 1,800 W at 120 VAC , 60 Hz
- 3,120 W at 208 VAC, 60 Hz
- 3,600 W at 240 VAC, 60 Hz
- TB713-C Base: Conforms to ANSI/UL 943 standards; certified under CAN/CSA Std. C22.2 No. 144.1
- Auxiliary output: 24 VAC/VCC / 0.1 A
- Compatibility: sensors 10 kΩ and 12 kΩ at 25°C
Temperature display
- Actual measured temperature: 0 to 50°C (32 to 122°F); increments: 0.5°C (1°F)
- Set temperature: 5 to 36°C (41 to 97°F); increments: 0.5°C (1°F)
Connectivity
- Zigbee 3.0
- Frequency: 2.4 GHz
- Transmission strength: +20 dBm
- Receiver sensitivity: -108 dBm
- Encryption key: AES-128
Conditions for storage and use
- Storage temperature: 20°C to 50°C (-4°F to 122°F)
8. Guarantee
- 3 years
All offers, services and rates may be changed without notice.


